
In the main menu, go to the Content section and choose the PopUps option to add new popups. In this article, you will learn how to:
Choose the suitable type of PopUp
- Click on the Create PopUp button
- You will be prompted with a page, select the type of PopUp you want to create and the template that best suits your vision.

- Based on the selected PopUp, you will then have to configure its details;
Before you configure the PopUp’s details, you need to keep in mind some important aspects to display them on both desktop and mobile correctly.
1. If you choose a background colour or upload an image, you need to pay attention so that the text you are adding, and the content has a visible colour on the image or on the background colour you’ve set. If you upload a black image, make sure the text is not black.
2. If you choose to upload a background image that already has text, you need to make sure it is set in a way that displays correctly on both desktop and mobile. To avoid your text being cut on a mobile device, make sure you align the text on the left side of the image.
3. To correctly display the PopUp on both desktop and mobile, you can edit its width and height. To correctly display the PopUp, regardless of the device, you must keep the selected template's width and height.
Add a Newsletter Subscription PopUp

Enter the PopUps General Information:
- Name - Enter a suggestive name so that you can quickly identify it in the popups list.
- Display - Choose the event that triggers this popup's display: page load, page exit, or page scroll (50%).
- Newsletter list - Select from your newsletter service a list to add new email addresses.
- Content - Enter the popup's content.
- After subscription - Choose what happens after subscription: you can display a Thank You Message or Redirect to another page.
- Success message - If you opt for a message after subscription, here is the place to enter it.
- Customer Agreement - According to the GDPR, you need to get the user's permission to register their data. This field is pre-filled with a text which complies with the Regulation in force, but you can change it if you want.
- Confirm Button - Enter the text which will display on the button after the subscription confirmation.
- Refuse Button - Enter the text displayed on the refuse button if the user doesn't want to give you his data.
After you enter the information, don't forget to click on the Save button.
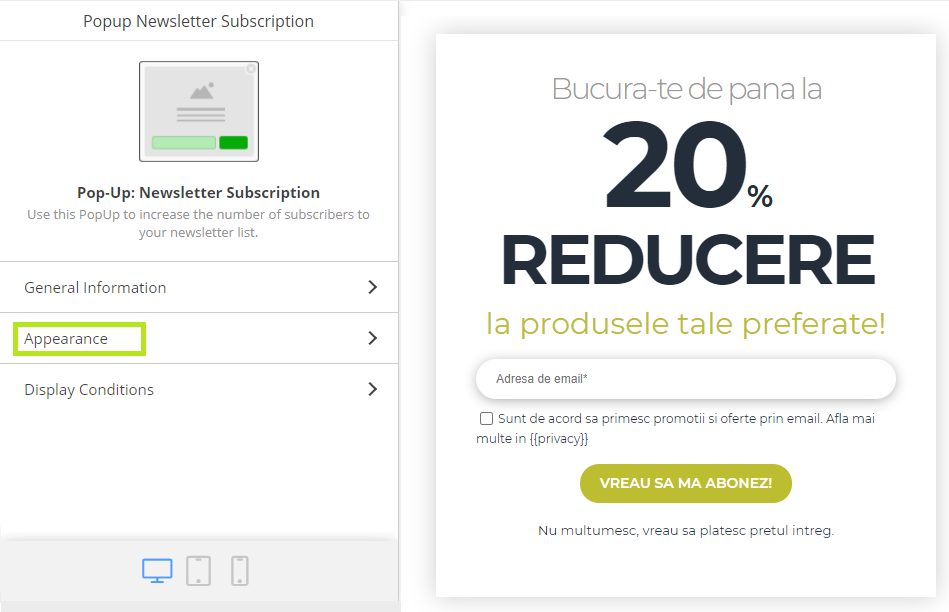
Set the PopUp's Appearance:
- PopUp Width - You can change the width according to your needs.
- You can change the content area's maximum width, the popup's position, the margins around the content area, and the text colour in the Content section.
- In the Background sections - You can change the background colour, upload an image, choose the background image positioning, and choose if you want to fit the background to the popup's size.
- In the Confirmation Button - You can select the text colour and the button's background colour.
- In the Refuse Button - You can select the text colour and the button's background colour.
After you enter the information, don't forget to click on the Save button.
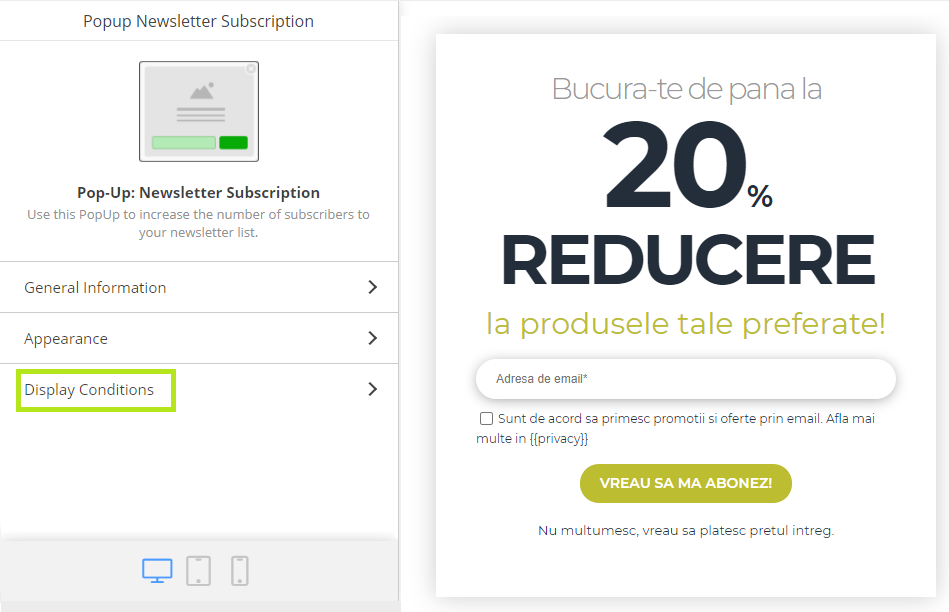
Choose PopUp’s Display Conditions:
- Enabled - Choose whether the popup will be enabled, disabled or enabled in a specific time interval.
- Display - Choose where to display the popup: all pages of the store, category pages, product pages, discounted product pages or customer account pages. By checking the associated box, you can also Exclude pages from the store where you don’t want to display the popup.
- Users - Choose if you want to display the popup only to selected users. You have the option to display the popup to All users, only to logged-in users or anonymous users.
- Priority - Fill in this field only if you have several active popups to establish how they display in page order.
After you enter the information, don't forget to click on the Save button.
Add a Cart Recovery PopUp
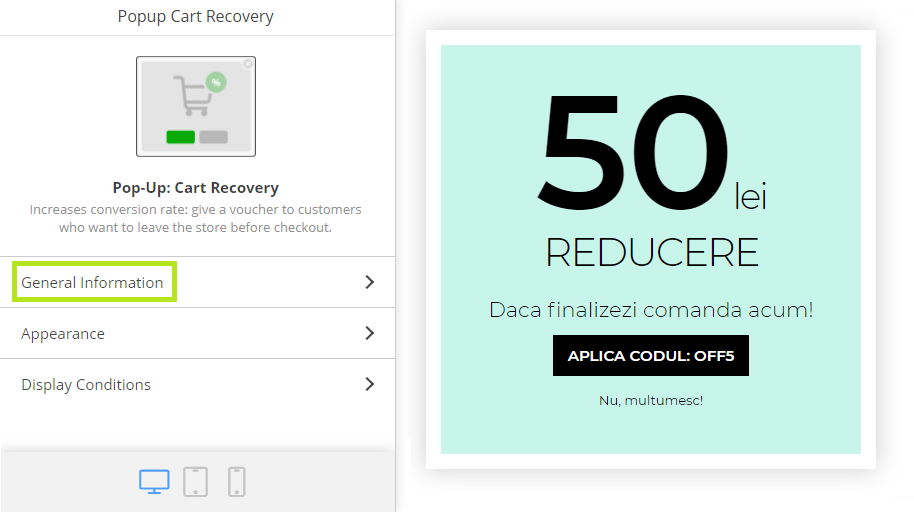
Enter the PopUps General Information:
- Name - Enter a suggestive name so that you can quickly identify it in the popups list.
- Voucher - To use this type of popup, you need to create a special voucher for the shopping cart.
- Content - Enter the text to appear on the popup.
- Confirm Button - Enter the text which will be displayed on the confirmation button for cart recovery.
- Refuse Button - Enter the text displayed on the refuse button if the customer doesn’t want to complete the order.
After you enter the information, don't forget to click on the Save button.
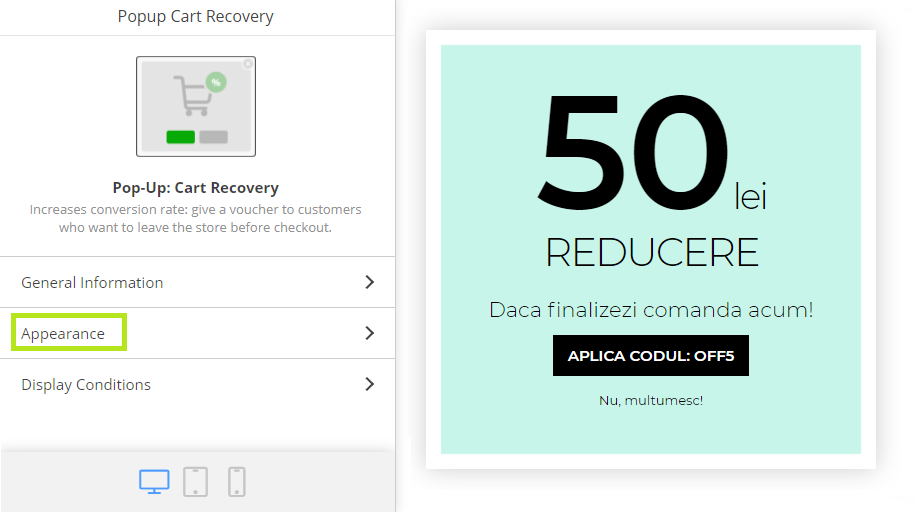
Set the PopUp's Appearance:
- PopUp Width - You can change the width according to your needs.
- You can change the content area's maximum width, the popup's position, the margins around the content area, and the text colour in the Content section.
- You can change the background colour in the Background sections, upload an image, choose the background image positioning, and choose to fit the background to the popup's size.
- In the Confirmation Button - You can select the text colour and the button's background colour.
- In the Refuse Button - You can select the text colour and the button's background colour.
After you enter the information, don't forget to click on the Save button.

Choose PopUp’s Display Conditions:
- Enabled - Choose whether the popup will be enabled, disabled or enabled in a specific time interval.
- You can Exclude pages from the store where the popup will not be displayed by checking the associated box.
- Priority - Fill in this field only if you have several active popups to establish how they display in page order.
After you enter the information, don't forget to click on the Save button.
Add a Call to Action PopUp
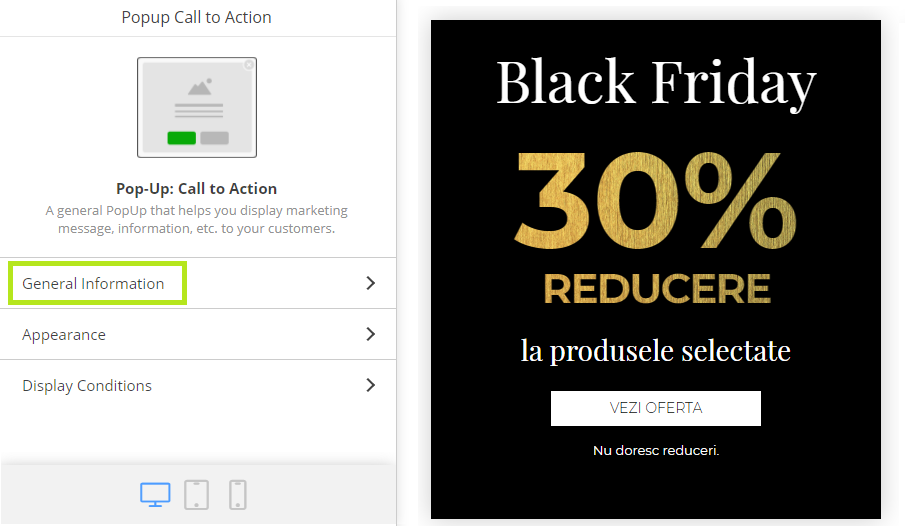
Enter the PopUps General Information:
- Name - Enter a suggestive name so that you can quickly identify it in the popups list.
- Content - Enter the text to display on the popup.
- Confirm Button - Enter the text which will be displayed on the confirmation button.
- Confirm Page - Choose the page to redirect the user after popup confirmation.
- Refuse Button - Enter the text which will be displayed on the refuse button.
- Refuse Page - Choose the page displayed at PopUp refusal.
- Remember user action - Enter the number of days before showing this popup to the same users.
After you enter the information, don't forget to click on the Save button.
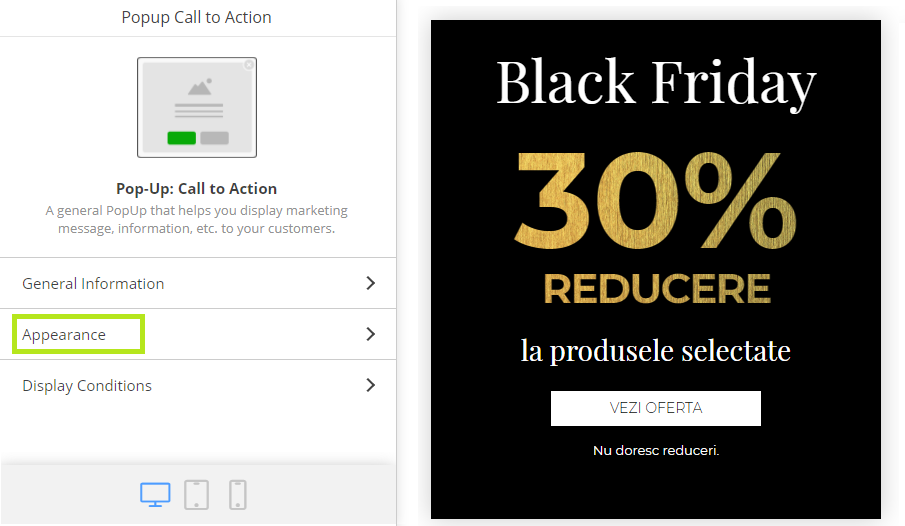
Set the PopUp's Appearance:
- PopUp Width - You can change the width according to your needs.
- You can change the content area's maximum width, the popup's position, the margins around the content area, and the text colour in the Content section.
- You can change the background colour in the Background sections, upload an image, choose the background image positioning, and choose to fit the background to the popup's size.
- In the Confirmation Button - You can select the text colour and the button's background colour.
- In the Refuse Button - You can choose the text colour and the button's background colour.
After you enter the information, don't forget to click on the Save button.

Choose PopUp’s Display Conditions:
- Enabled - Choose whether the popup will be enabled, disabled or enabled in a specific time interval.
- Display - Choose where to display the popup: all pages of the store, category pages, product pages, discounted product pages or customer account pages. By checking the associated box, you can also Exclude pages from the store where the popup will not be displayed.
- Users - Choose if you want to display the popup only to selected users. You have the option to display the popup to All users, only to logged-in users or anonymous users.
- Priority - Fill in this field only if you have several active popups to establish how they display in page order.
After you enter the information, don't forget to click on the Save button.
Add a Variant Guide PopUp
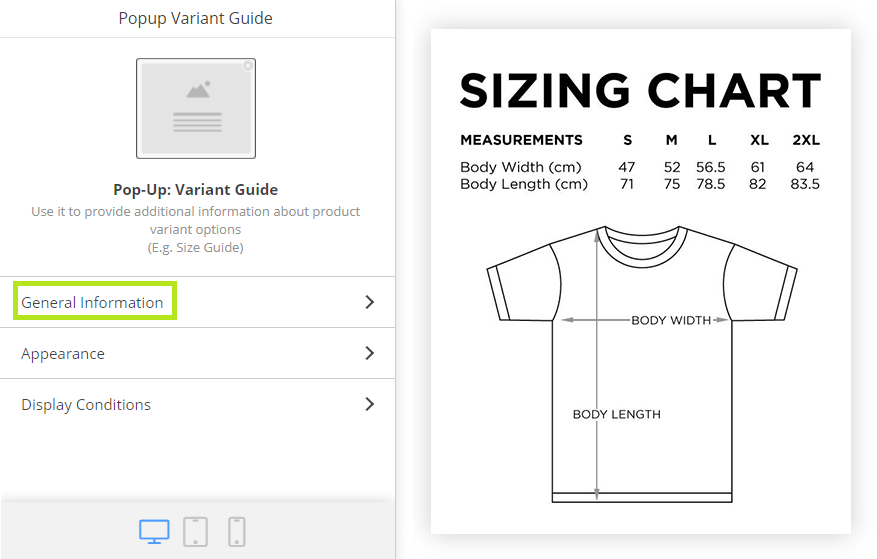
Enter the PopUps General Information:
- Name - Enter a suggestive name so that you can quickly identify it in the popups list.
- Display - Choose the event that will display the popup.
- Attribute - Choose the attribute that the products need to have so that you can display the popup.
- Content - Enter the content which will be displayed in the popup.
- Link - Enter the text the customer’s need to click to open the popup.
After you enter the information, don't forget to click on the Save button.
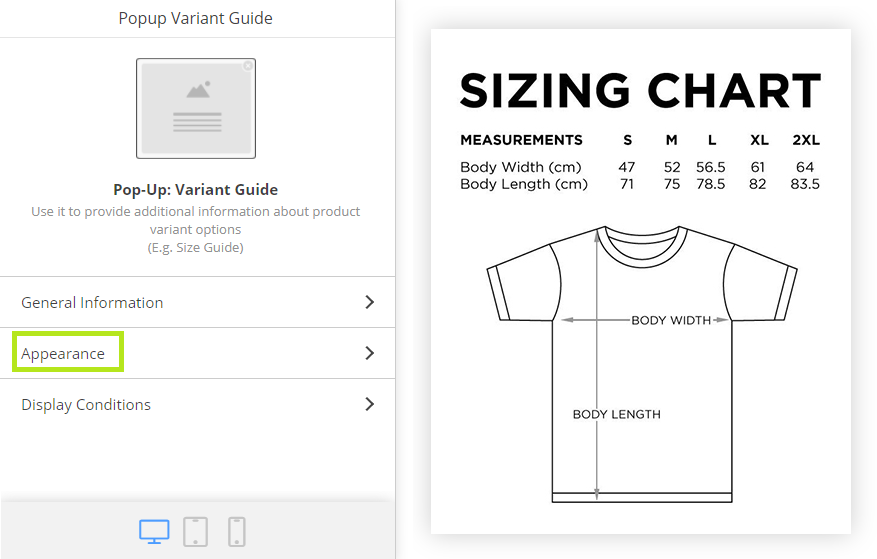
Set the PopUp’s Appearance:
- PopUp Width - You can change the width according to your needs.
- Width - Set the maximum width of the content area.
- Position - Choose popup positioning in the content area.
- Margins - Choose the size for the free space around the content area.
- Text colour - Set the colour for the text.
- Background colour - Set the colour for the background.
- Image - You can upload an image.
- Position - Choose the positioning for the wallpaper in the popup.
- Fluid Background - Choose whether you want to adjust the background to the size of the popup.
- In the Link section - You can choose the text’s colours and the background colour.
After you enter the information, don't forget to click on the Save button.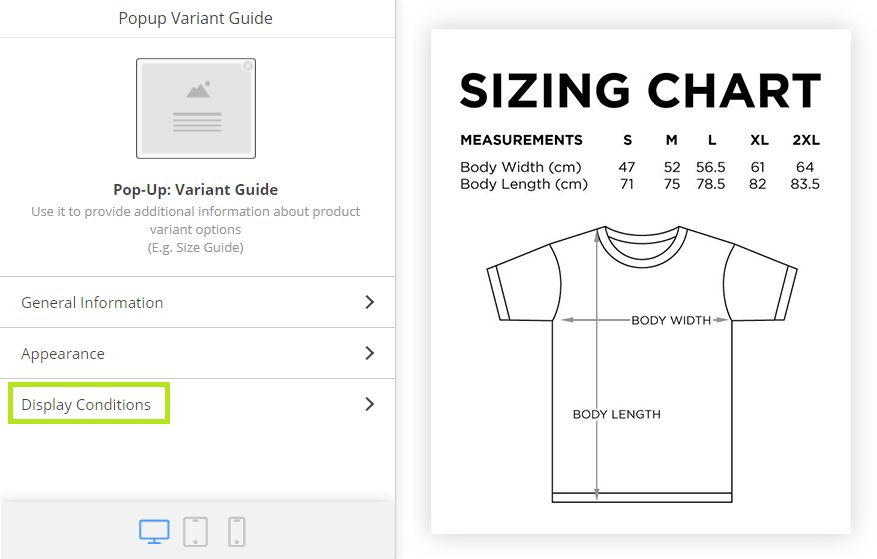
Choose PopUp’s Display Conditions:
- Enabled - Choose whether the popup will be enabled, disabled or enabled in a specific time interval.
- Display - Choose where to display the popup: all pages of the store, category pages, product pages, discounted product pages or customer account pages. By checking the associated box, you can also Exclude pages from the store where you don’t want to display the popup.
- Users - Choose if you want to display the popup only to selected users. You have the option to display the popup to All users, only to logged-in users or anonymous users.
- Priority - Fill in this field only if you have several active popups to establish how they display in page order.
After you enter the information, don't forget to click on the Save button.
Add an Add to Cart PopUp
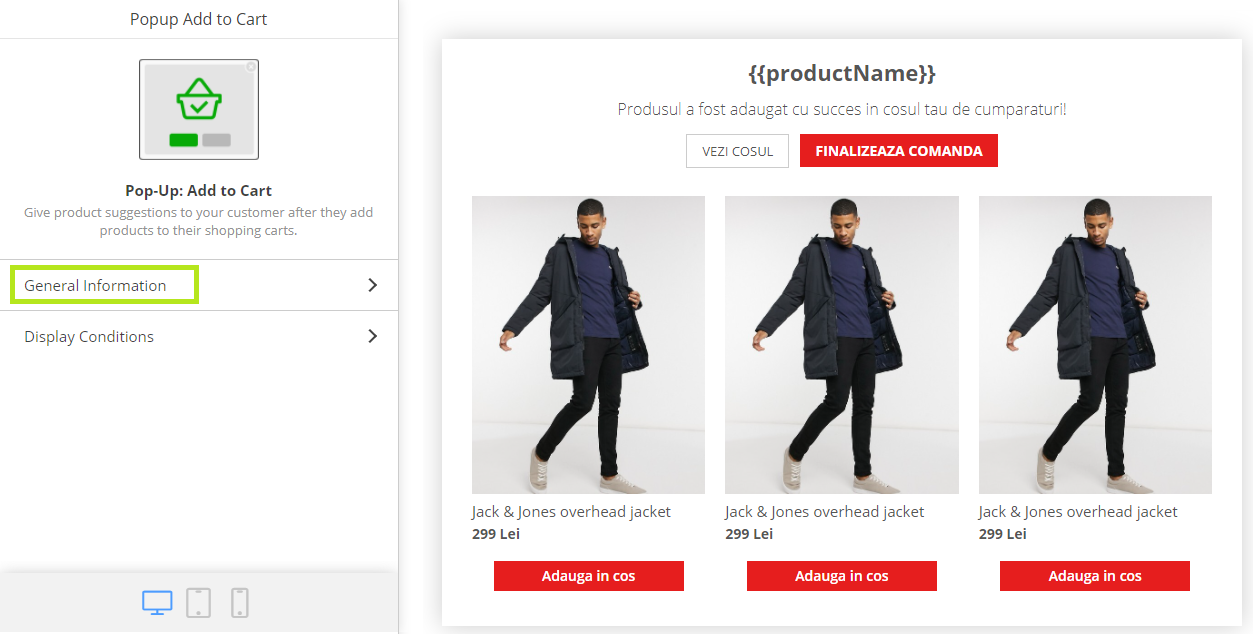
Enter the PopUps General Information:
- Name - Enter a suggestive name so that you can quickly identify it in the popups list.
- Display - Choose the event that triggers the display of this popup.
- Display Recommendations - Choose the products that will be displayed in the PopUp. You can choose products using the Select Products options, where you will need to manually select the products to display in this popup or choose the "Cross-Sell" Products option that will display complementary products for the product added to cart.
Content - Enter the text that will appear on the popup.
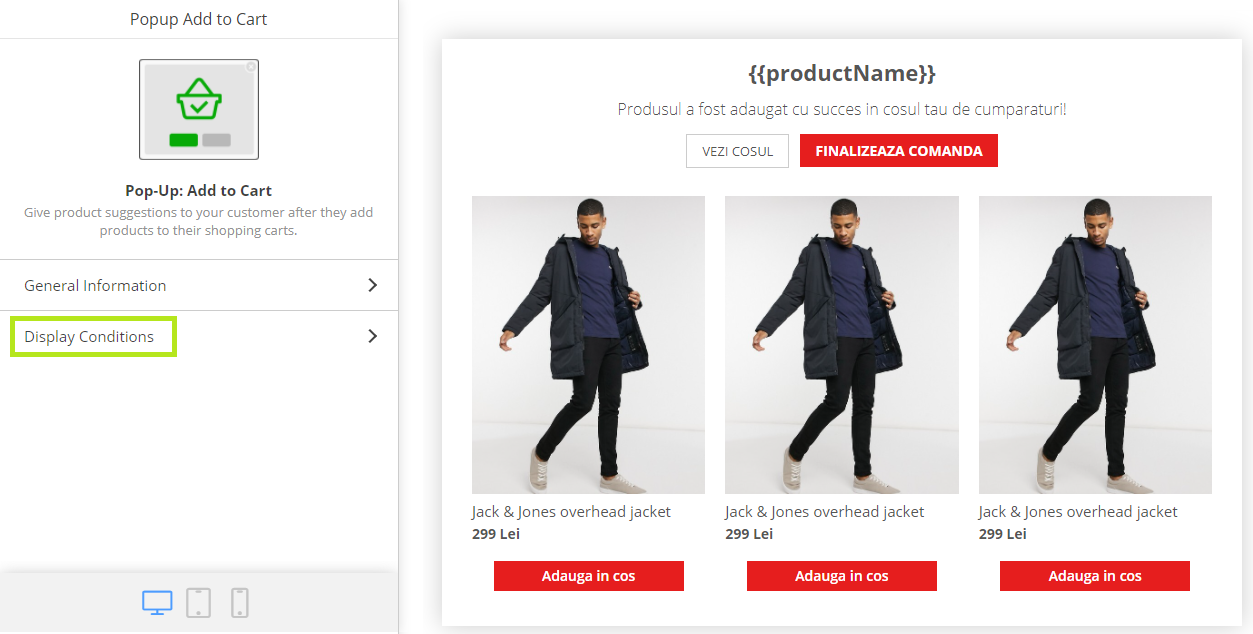
Choose PopUp’s Display Conditions:
- Enabled - Choose whether the popup will be enabled, disabled or enabled in a specific time interval.
- Display - Choose where to display the popup: all pages of the store, category pages, product pages, discounted product pages or customer account pages. By checking the associated box, you can also Exclude pages from the store where you don’t want to display the popup.
- Priority - Fill in this field only if you have several active popups to establish how they display in page order.
After you enter the information, don't forget to click on the Save button.
Add a Special PopUp
The popup Special is displayed based on specific events that take place in your store, for example, after successfully subscribing to the newsletter or after completing an order.
Enter the PopUps General Information:
- Name - Enter a suggestive name so that you can quickly identify it in the popups list.
- Display - Choose the event that will trigger the display of this popup. You can choose between On Newsletter Subscription or On Order Complete.
- Content - Enter the popup's content.
- Confirm Button - Enter the text to display on the confirmation button.
After you enter all the information, don't forget to click on the Save button.
Set the PopUp's Appearance:
- PopUp Width: You can change the width according to your needs.
- Width: You can change the maximum width of the content area.
- Position: You can change the popup's positioning of the content area.
- Margins: You can change the free space around the content area.
- Text Colour: You can change the colour of the text.
- Background Colour: You can change the colour of the background.
- Image: You can upload a background image.
- Position: You can choose the positioning of the wallpaper in the popup.
- Fluid background: You can choose if you want to adjust the background to the size of the popup.
- In the Confirm Button section: you can choose the colour for the text and the colour of the button's background.
After you enter all the information, don't forget to click on the Save button.
Choose PopUp's Display Conditions:
- Enabled - Choose if you want to enable, disable or enable the popup in a specific time frame.
After you enter the information, don't forget to click on the Save button.
Comments
0 comments
Article is closed for comments.