
The Shopping Button option is available only after enabling the app with the same name in the Sales Channels category.
Create a Shopping Button
To create Shopping Buttons, go to the Sales Channels section from the menu and click on the Create Button on the page's top. Next, follow these steps:
See a few examples of Shopping Buttons installed in blogs at the end of this article (click here).
Step 1: Choose products
- In the pop-up window that opens, containing all your products, choose the one for which you want to create a Shopping Button. You can search for the desired product in the list by name or code.

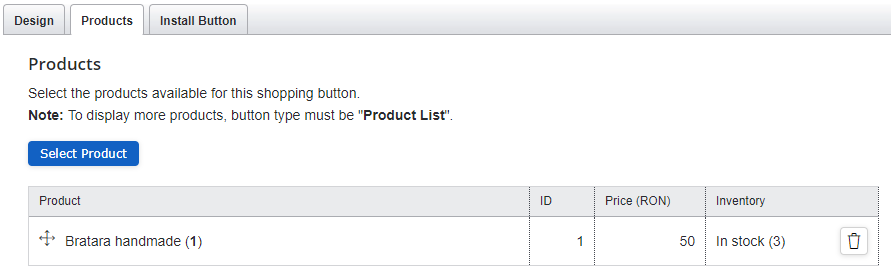
- If you want to use multiple products, you can choose them afterwards: open the Products tab, see all the already selected products, click on Select Product and repeat the step above.
- Also, you can change the order of the product display by moving them above or below in the list with the help of the arrows from the left side of the product’s name.
Step 2: Set the button’s design.
Open the Design tab and perform the settings in the left menu.
On the right side, you can see the changes you are making in real-time and how the button you are creating looks and works.
- Give the button a name to quickly identify it in the store’s dashboard.
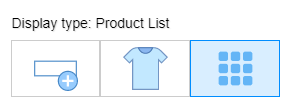
- Choose the display type for the button between “Action Button”, “Product Box”, or “Product List”. If you want to create this button for multiple products, choose the last option.
- In the Click Action field, choose what you want to happen next after a customer clicks on that button. Test how each option works by clicking on the button from the preview part on the screen's right side.
- "Add to Cart" will add the respective product to the shopping cart.
- "Send the order" will open a pop-up checkout window.

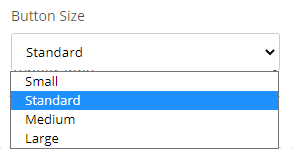
- Choose the button’s size between “small”, “standard”, “medium”, and “large”.
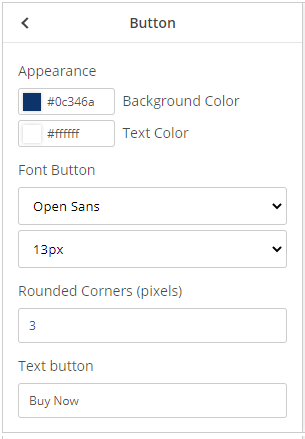
- In the Button section, you can change the button's appearance: the colour and background of the text, the font used and its size, how rounded should the button corners be and the text displayed on it.
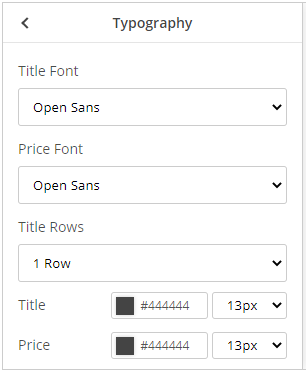
- In the Typography section, you can change the title's following features and the product's price: the font used, the text colour, and its size. Moreover, you can choose how many rows should the title be displayed if it is longer.
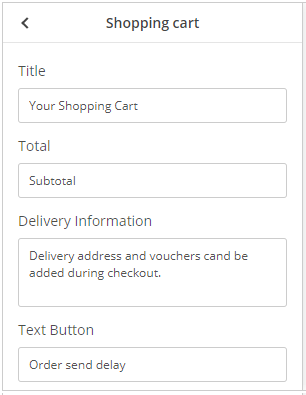
- If you have selected the “Add to Cart” in the Click action field, in the Shopping Cart section, you can change all the text that is displayed in the shopping cart: the cart’s title, total, additional information about shipping and the text on the shopping button.
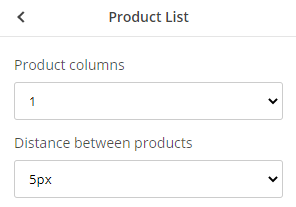
- If you have selected the “Product List” or “Shopping cart” as a means of displaying the button, you will also have the Product List option. Here, you can choose the number of columns on which the products will be displayed and how much free space needs to be between them.
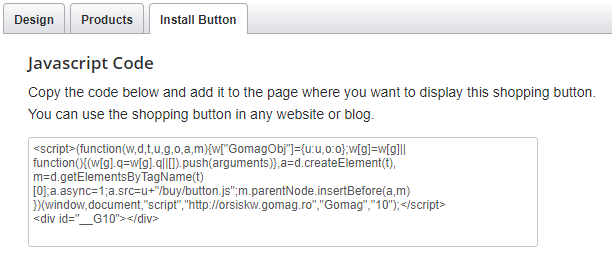
Step 3: Install Button
After you finish configuring the Shopping Button, copy the JavaScript code from the Install Button tab and paste it into your website or blog where you want the button to be displayed.
The JavaScript code needs to be added to the pages’ source code.
Note: If there is a newer version, the JavaScript code needs to be placed on the <script> mode as HTML code.
If you want to make changes after the button installation, these changes will update automatically with your performed changes without copying and pasting the code.
Comments
0 comments
Article is closed for comments.